Hi guys! You asked and I will post three recipes that you requested me!
Palmier
Ingredients
- 2 commercial puff pastry sheets
-1 cup sugar
How to make
1. Thaw the puff pastry dough in the refrigerator for 1/2 an hour.
2. Sprinkle sugar on your workbench and the in the dough.
3. Place on sheet on top of another and sprinkle a little bit of sugar between them.
4. Fold 1 inch of the edge of the dough on both sides of the sheet.Add more sugar on top. Continue to fold 1 inch up each time until the center is reached.
5. Freeze dough for 5 minutes
6. Remove from freezer and cut the cookies with a knife (about 1/2 inch).
7. Dip cookies in sugar and place on a baking sheet. Leave enough space between the cookies because they will grow.
8. Bake at 375F for about 15 minutes. When cookies brown on bottom, turn them over to brown on the other side. Cookies should be very crispy and dry.
Christmas Tree Bark (especially for my dear friend Layla)
Ingredients
- 1 pound white chocolate, chopped
- 1 pound dark chocolate, chopped
- 8 red and white peppermint sticks, crushed
How to make
1. Line baking sheet with parchment paper (or plastic wrap).
2. Crush the peppermint sticks with a rolling pin (or a hammer) or even with the food processor.
3. Melt chocolates separately in a water bath (yes you can use the microwave)
4. Spread the dark chocolate on one half of baking sheet and place the white chocolate in the other half. Throw crushed candy on top and place in freezer.
5. When the chocolate is hard just break it the way that you want.
NOTE: In my class I did not do half and half. I just mixed the two of them to give the effect of mixed chocolate :D
Ingredients
-1 1/2 stick butter
- 6 oz cream cheese
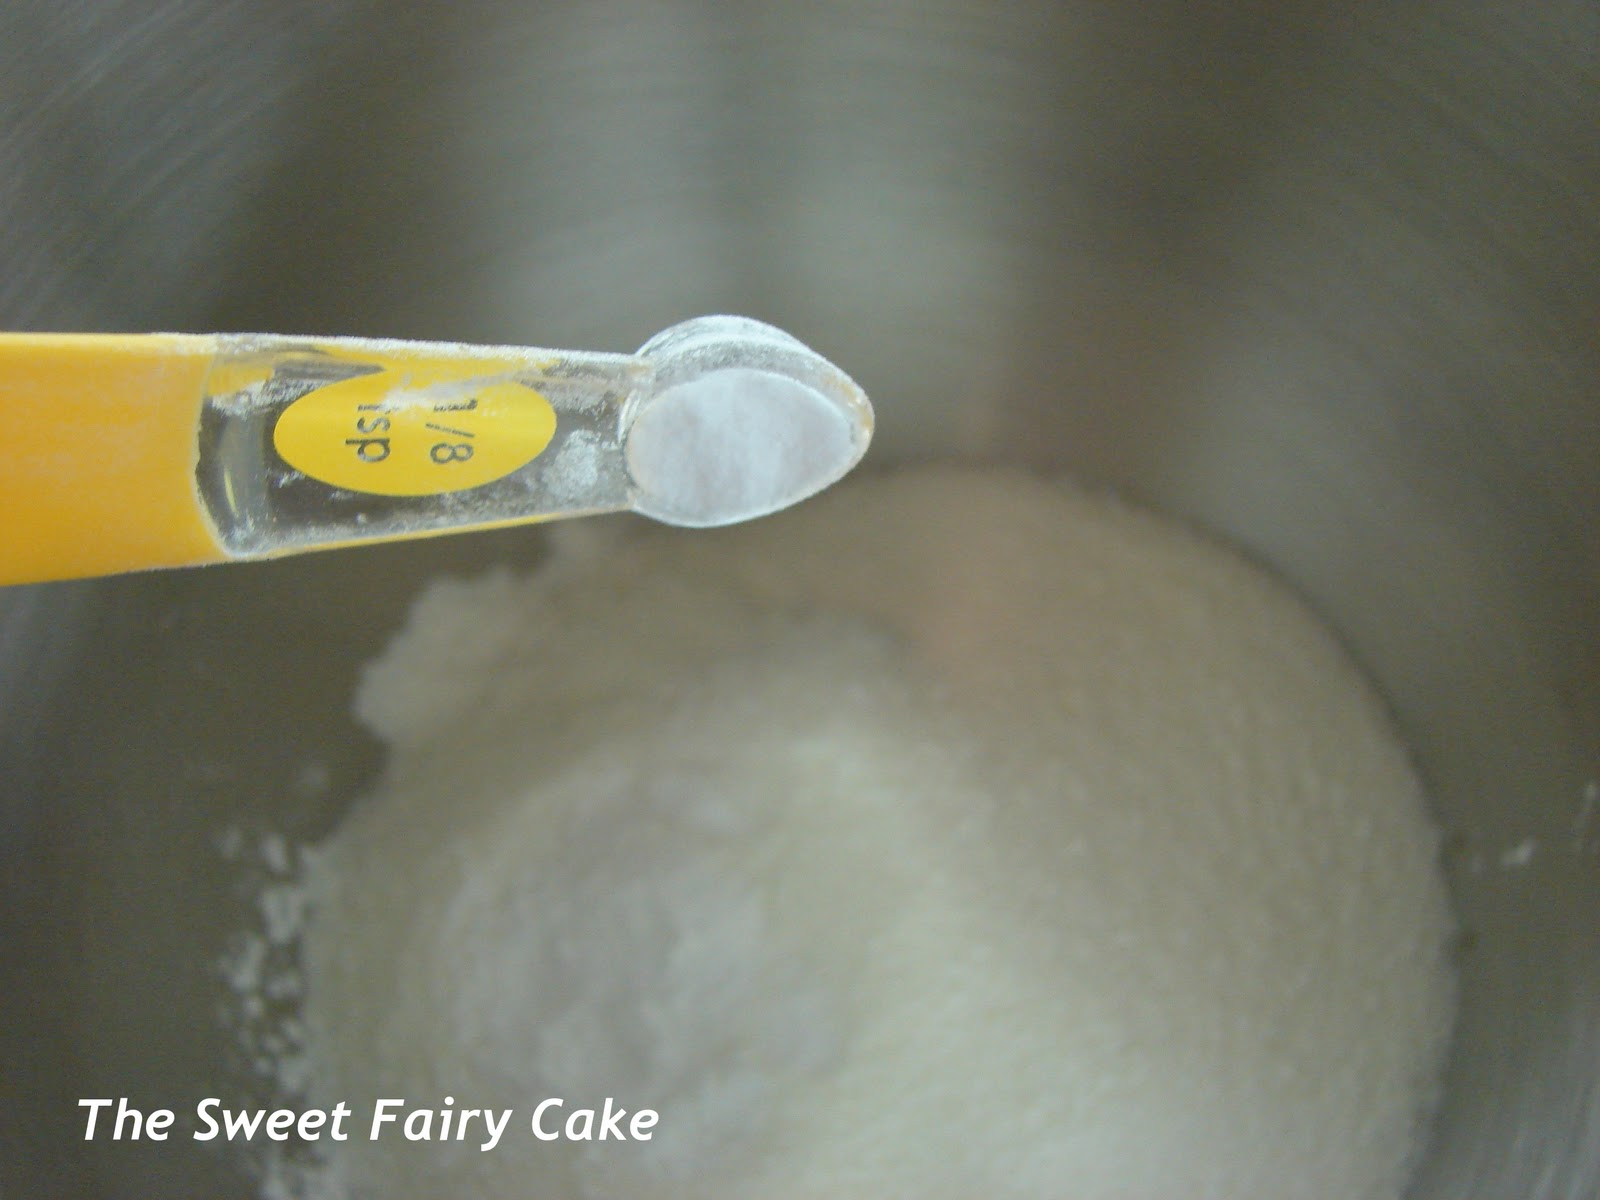
-1/4 teaspoon salt
- 2 Tablespoons sugar
- 1 1/2 cup all purpose flour
- 1/2 cup jam (I used raspberry)
- 1/2 cup pecan, chopped
- Egg Wash (egg mixture with water for brushing the dough)
How to make
1. Make a cream with butter and cream cheese in mixer.
2. Add sugar and salt.
3. Add flour.
4. Rest the dough in the fridge for half an hour.
5. Divide dough into 3 equal parts. Roll each piece out individually to a circle about 10 inches in diameter and 1/8 inch thick. Cut each circle into 8 equal wedges (like a pizza). Spread the jam in a thin layer over the cut circle. Sprinkle nuts over the jam. Roll each of the triangles up like a croissant and place on a parchment lined cookie sheet. Chill for 15 minutes.
6. Egg wash cookies before baking at 325F for about 10 minutes. Be sure not to have a puddle of eggs around base of rugelach.
NOTE: Always chill the dough in the fridge to cool for about 15 minutes if you feel that the dough is softening or sticking in your hand.
If you have any question, just ask!!
Happy Baking!